Anyone who has spent any time chasing muskies with me over the years knows that I am an absolute glide bait nut! And even that might be an understatement as some of my friends have even said that I get “glide bait anxiety” if I’m not throwing one! As a guide in northern Wisconsin I rely heavily on this style of lure to help my clients put more muskies in the net from early spring all the way till ice up when the gales of November come swirlin’! And talk about fishing pressured waters or competing in tournaments with seasoned professionals, pounding the water to froth… How have I found success in these challenging situations too? By fishing with lures that I feel will offer me a higher chance at triggering strikes from muskies that are in a neutral mood.
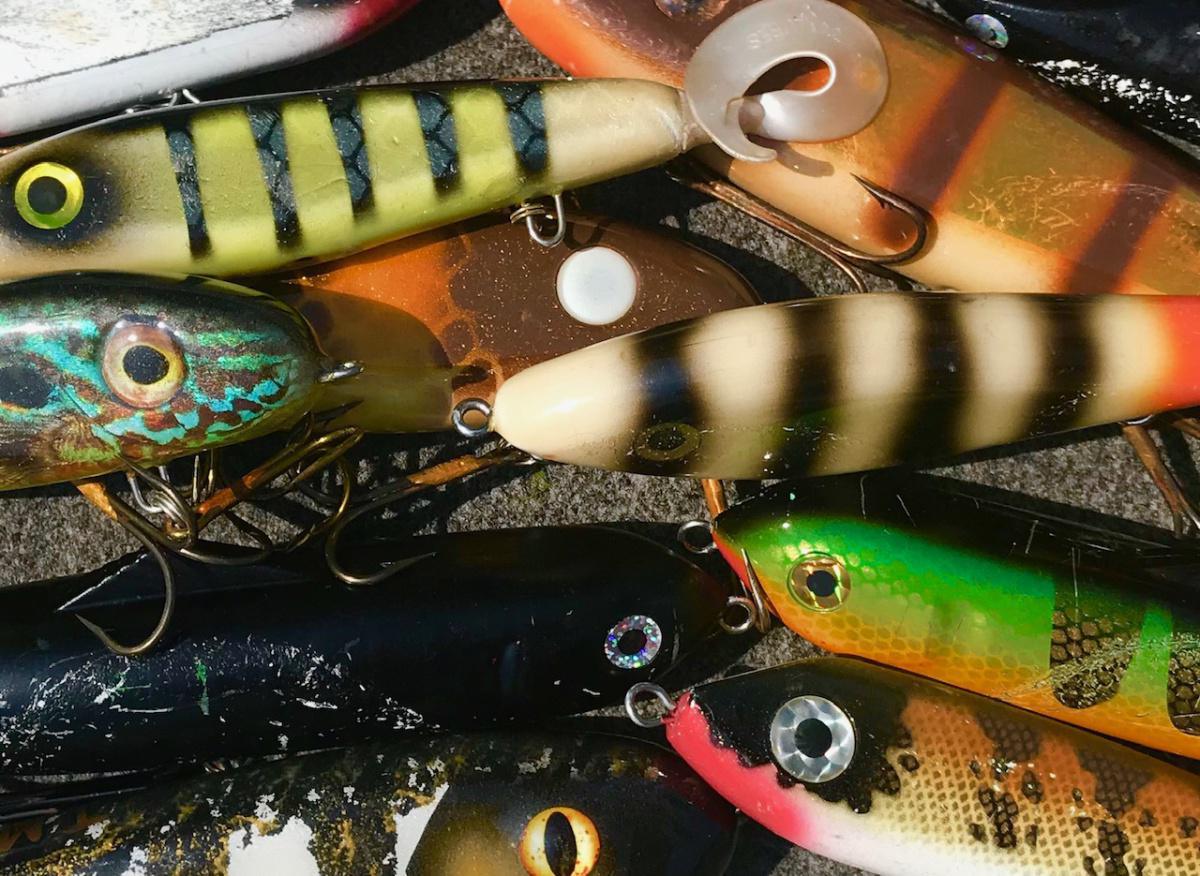
Glide baits and other jerk bait style lures allow you to break up the traditional cadence of the retrieve, giving you more opportunities to customize and tailor your presentation to fit a particular situation. Admittedly, I have probably tried just about every make and model on the market in my search to find “the one” and although manufacturers sometimes claim that every lure coming out of a package will run the same, we all know this just isn’t true. But that’s honestly what makes the search for the perfect glider so much fun!
Glide baits can be challenging to work, especially if you are just beginning your journey, but as a high school science teacher I find great joy in helping others learn the art form. And that is what this article is all about, discussing in detail how to properly work glide baits and other neutral-buoyancy lures that require a specific technique and equipment combination for maximum results. Once you start and begin to see just how deadly these lures are at triggering strikes when the chips are down, there is no stopping!
It was an early morning in July on a filming trip for the television show, “Fishing with Joe Bucher” on Lake of the Woods that changed it all. Having just finished breakfast at Big Narrows Resort, loaded up on black coffee and excited to hit the water hard, Joe Bucher and I headed down the tall winding staircase to our cabin overlooking the NW Angle to make our final preparations before heading to the dock. As I organized the camera equipment and tapes for the day, Joe stepped out of his bedroom, while flossing his teeth, and stated, “Chas, it’s all about the PAUSE! You have to pause that glider more!”
The importance of this comment has and continues to influence the way I approach working and maneuvering all sorts of different lures but most importantly, it would change our trip for the rest of the week. Joe and I had been tinkering with a prototype of the GlideRaider all summer long and of course, we were both very excited to see how it would fare on its first true muskie excursion on the famous LOTW. We had certainly been having success up until this point on our trip but one thing was certain, we were getting lots and lots of follows from muskies and triggering strikes was a challenge.
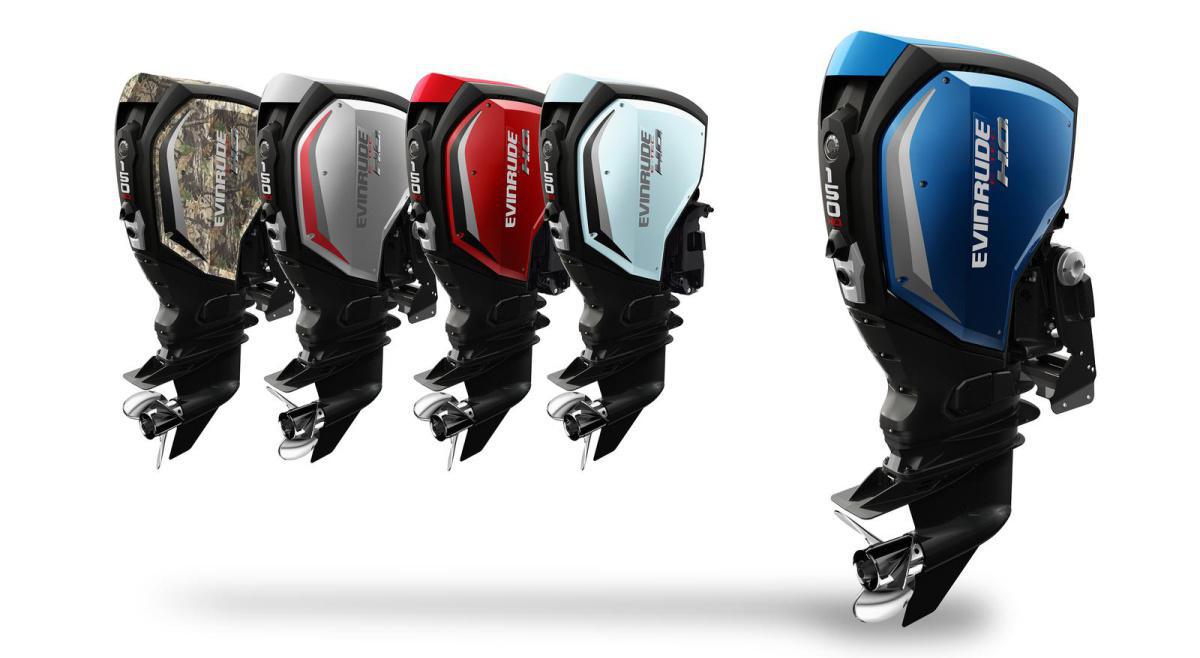
The air was heavy and moist and although the sky was blue overhead, a light-gray band could be seen looking west. Joe and I both looked at each other as the 200 H.O. E-TEC roared to a start. It was a thunderstorm muskie day! Today was the day to capitalize on triggering one of the true brutes we had been working.
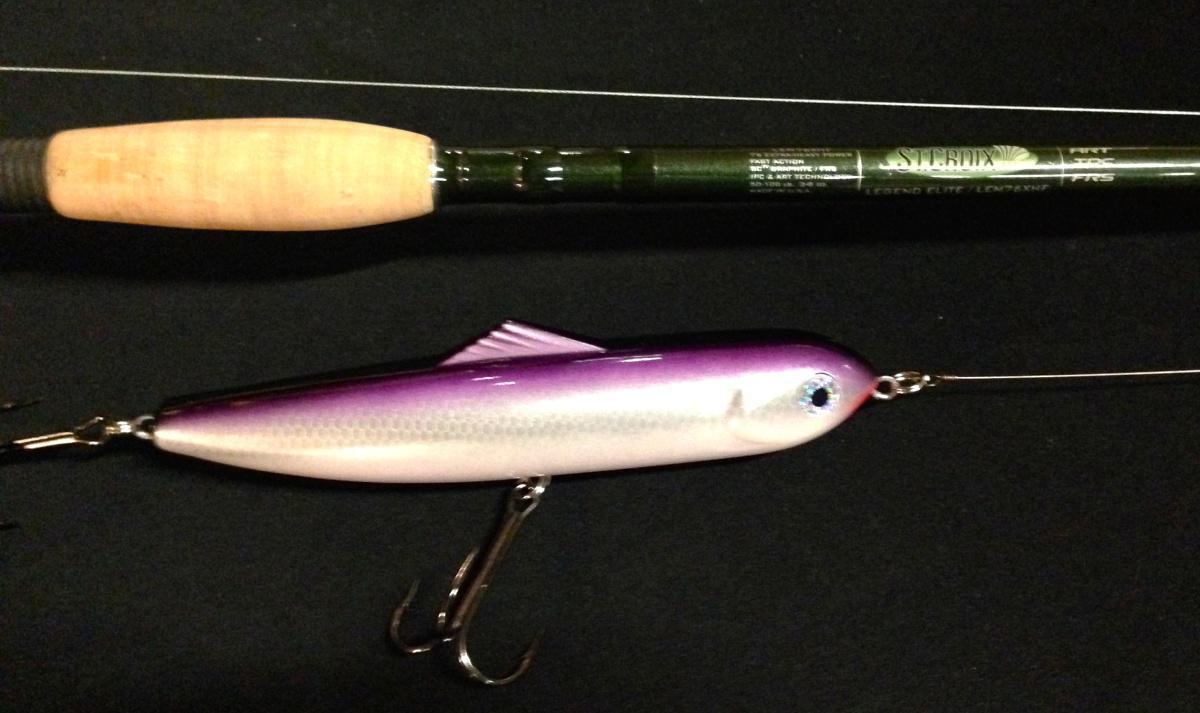
“Joe, mic-check! mic-check!” I adjusted the Joe’s microphone volume, making sure that it was at the appropriate level and double-checked the cameras, ensuring that everything was framed properly. Once the red lights were glaring it was go time! We began working a steep chunk-rock shoreline where Joe and I had previously raised a nice muskie multiple times but, like many of the big girls we had seen up to this point, we just couldn’t get her to strike. A light clap of thunder could be heard far off in the distance and a hazy gray blanket of clouds had dulled the glare on the water’s surface. I picked up my “Jerk” Legend Tournament St. Croix muskie rod, rigged with a prototype glider, and heaved a bomb cast toward the shoreline. Glide-glide-glide-PAUSE. The neutral-buoyancy glider sat in position, “hanging” underwater with a slight belly-roll shake. After waiting 2 seconds I again initiated my retrieve. Glide-glide-glide-PAUSE. Glide-glide-glide-PAU…. this time my pause was interrupted and I will never forget the scene as a giant muskie rose up from the depths and t-boned my glider.
It was as if everything were in slow-motion. It was not a violent strike but more an instinctive reflex, as if in that very moment on the pause, the muskie could not resist! Reminiscent of a scene from JAWS, the long white jawbones crunched down on the mid section of the 8-inch lure, its piercing black eyes looking back at me. I set the hooks hard and yelled, “Joe! I got one!”
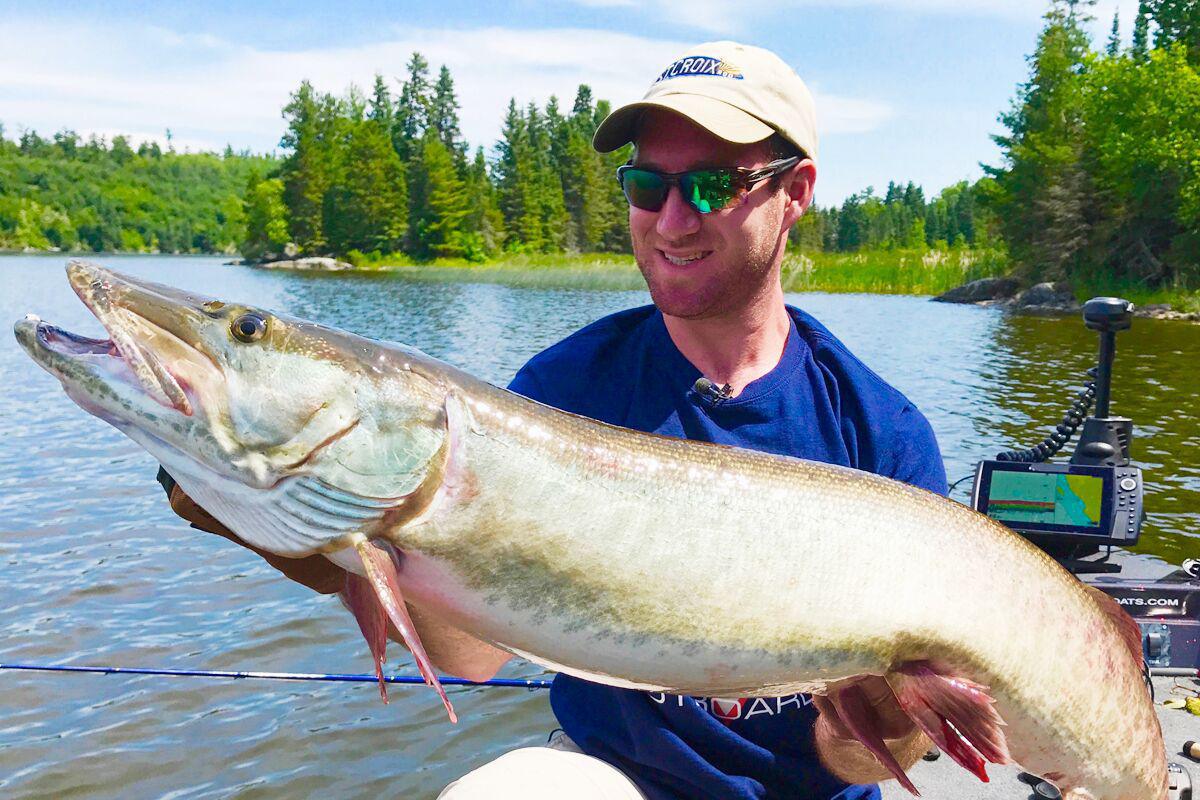
I carefully and quickly made my way up to the front of the boat into the frame of the main camera. The big fish fought hard at boatside, taking line and forcing me to free-spool her as to not put too much pressure on her with the extra-heavy power rod. After another power run Joe safely scooped her up in the net. What a rush! Not only was this the first monster muskie taken on the new GlideRaider but the technique, which we would later coin the “slack line pause,” would change the trip as we would continue to fool other hesitant muskies into nailing the glider when they simply wouldn’t take another lure, even in the figure-8.
The Equipment :
Having the right equipment is paramount to effectively working more complex, neutral-buoyancy jerk bait style lures such as a glide bait. Sure, you can work a glider with many different types of muskie rods but there is absolutely no doubt that one such combination of length, power and action will give you an unparalleled ability to get the most out of the lure and trigger more strikes. My favorite rod for working this style of lure is a 7’6” extra-heavy power, fast action St. Croix Legend Tournament rod, also known as the “Jerk,” which is a fitting name because it is specifically designed to work jerk baits.
Go shorter in length and you lose the ability to “whip” the slack line and go any longer and your rod tip is too close to the surface and will not allow you to maneuver the bait properly. The extra-heavy power is also very important because you need a rod that will not “flex” very easily as you twitch the slack line hard to get the “walk-the-dog” action.
The action of the rod is also important. Faster action rods will flex near the tip, not near the middle of the blank, and this allows you to work the lure in a very precise manor. The combination of 7’6” length, extra-heavy power and fast action literally turns a glide bait into a high performance sports car, as your slightest rod movement will produce the desired lure movement.
When working lures that I would like to keep in the first 3 feet of the water column I prefer to use a thicker diameter superbraid line in the 80 to 100 lb test category. A thicker diameter line will help keep the glider in the strike-zone longer on the pause and it will help produce the desired hang-time to trigger strikes from reluctant fish. I also use a standard 10-12 inch piano-wire leader that is connected to the lure only with a high quality split-ring, which will produce a more natural side-to-side swing.
Reel gear ratio is certainly something you will have to experiment with. My preferred gear ratio is 5.4:1 which means that for every one full revolution of the reel handle, the spool will rotate 5.4 times. A 6.4:1 gear ratio also works very well. Experiment with these gear ratios until you find the one you are most comfortable with and which works the lure most effectively based on how much slack line you tend to use.
There are many variables that may affect which gear ratio will work best. For example, if you are running-and-gunning and working structure more quickly, you will most likely be throwing the glide bait further ahead of the boat to help with timing, and a faster gear ratio (such as the 6.4:1) will help collect the slack line more quickly. The amount of line on your spool will also greatly influence which gear ratio will work best. Super low or high gear ratios will likely make retrieving a glider very challenging but again, finding the right reel to go with the rod is a “feel” game and a very personalized part of your setup.
The Technique :
Effectively working a lure such as the glide bait primarily requires one thing: slack line. The ability to create slack line during the retrieve and effectively use it to work the bait from side-to-side is crucial. As you advance the boat your cast with a glide bait, like most lures, should land in front of the boat or more precisely, between 30 to 45 degrees from perpendicular. This is important for two reasons: first, as you retrieve the lure you want it to come back toward “perpendicular” as the lure nears the end of the retrieve. What you want to avoid here is the lure lagging behind the boat as this will make it very hard to create slack in your line and to work the lure properly. Second, casting the lure forward makes it much easier to create “slack” line because as you advance your boat it shortens the distance between you and the lure.
What is slack line? Although many of you might find this concept elementary it is best that we define it because as a guide in northern Wisconsin, I have found that many of my clients, and myself included, need some fine-tuning on the basics from time to time. Creating slack line in your retrieve means that the lure is “free from any tension” at a point during the retrieve. Put another way, there is no “pull” on the lure. Creating slack line during your retrieve means that you are creating a situation for the lure that, in a particular moment, you have essentially no control over the lure’s direction of movement. With a neutral-buoyancy lure such as a glide bait this is not only OK but it is specifically what the lure is designed for!
Although it may seem like you have no control over what the lure is doing, the opposite is true. As a right-handed angler, a quick and pronounced 6 to 18 inch “jerk” of the rod tip from left to right, whipping only the slack line, will force the glide bait to move left or right underwater. Aggressively whip the slack line again and the lure will quickly go “sailing” in the opposite direction, often times moving up to 3 feet in one direction!
Referring back to my opening story, this is what I meant “glide-glide-glide-glide…” You want to begin your retrieve working the glide bait side-to-side and then, after a few glides or whenever you feel a pause would be best (such as when your lure is adjacent to a prime piece of structure) simply stop your retrieve. Pause the glide bait in position and wait a few seconds before whipping the slack line again to continue advancing the lure. This is the most exciting part of the retrieve because most of the strikes will come on the “PAUSE!” The overall goal is to break up the cadence of the retrieve and create an unpredictable action in the lure that a predator fish will hopefully associate with an injured or dying food source.
As you get better and better at working jerk bait style lures you will no doubt become very creative with your retrieve styles. For example, a particular retrieve that is simply deadly with a glide bait is the “quick-hopping” technique, most notably portrayed by Joe Bucher in the “Birthday Beast” episode of the 2014 season of the “Fishing with Joe Bucher” TV show. Quick-hopping a glider involves working the lure with SUPER FAST slack line twitches which will make the lure literally run up on top of the surface, almost like a topwater lure. This technique is effective in a number of situations, namely when you need to get the glider over or around different types of structure such as a rock, log or thick clump of weeds or when you have a muskie following (think “Birthday Beast” episode) and you want to try and trigger an aggressive response in hopes of getting the muskie to strike.
Holding the rod and reel properly is also very important when it comes to getting the right side-to-side movement of the glider. Palming the reel is essential for making this happen because it allows you to use your wrist to create the quick and powerful whip-like motion with the rod that is needed to snap the slack line. The butt end of the rod should be resting lightly between your bicep and your ribcage. You will also find that this style of fishing certainly highlights the new split-grip rod styles because the reduced weight of the rod helps lessen the overall fatigue on your palming hand.
Lastly, this article would not be complete if we did not discuss the figure-8. Like any other lure, I work gliders in all the way to the boat and then proceed to do a traditional figure-8. Although the glider might seem like an awkward lure to perform the figure-8 with I have caught many muskies on them using this age-old technique.
A variation to this technique that is particularly deadly with gliders is what is called, “dead-sticking,” or working the glider with side-to-side movements and pauses “in-position,” with NO ADVANCE toward the boat. Again, effective use of slack line is critical to pulling this trick off at boatside but it is challenging and will take time to perfect. Dead-sticking can be very effective when going after muskies that you have had up to the boat time and time again with no commitment in the figure-8.
Neutral-buoyancy glide bait and jerk bait style lures should be a fundamental part of your muskie lure repertoire and just like any other lure or “tool,” you must know how to properly work one in order to achieve consistent success with it. Glide bait style lures are an excellent lure choice under a wide variety of fishing conditions, particularly when you are facing a high-pressure post-frontal “blue-bird,” increased angling pressure or just an overall “tough bite.” Master the “slack line pause” and you will begin to notice that your consistency will improve and your muskie catches won’t be slackin’!


